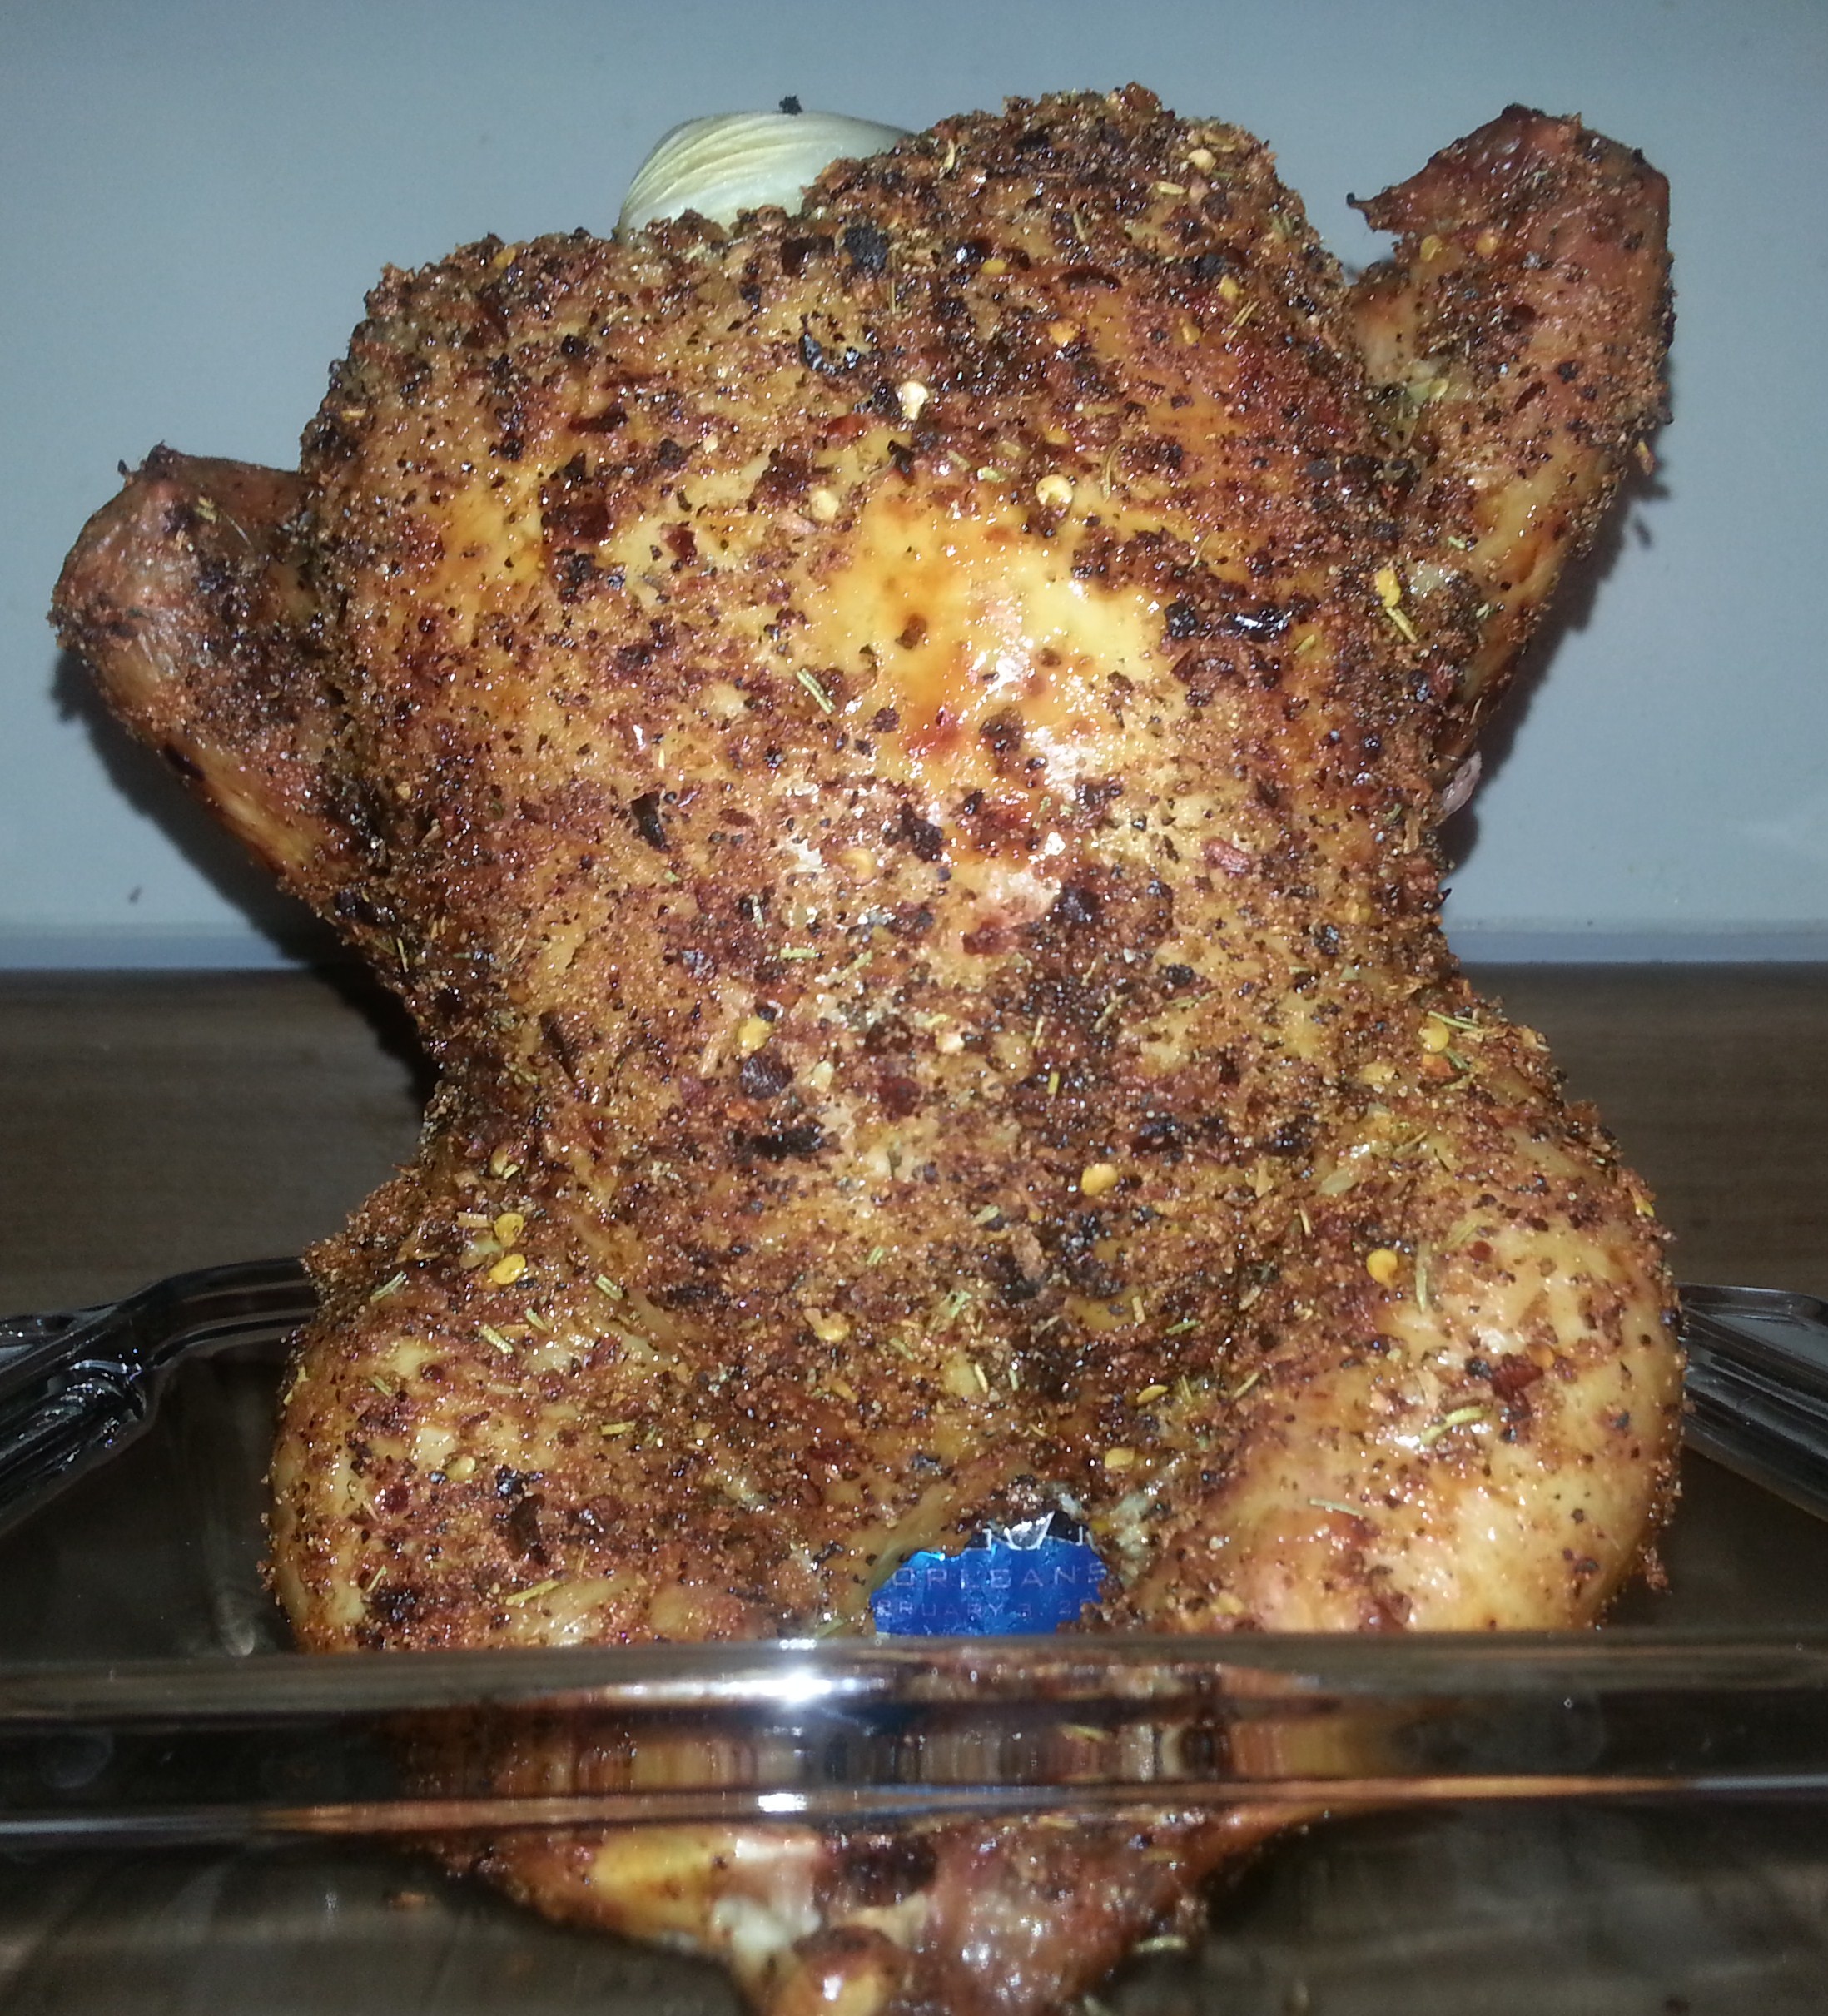
Beer Can Chicken
By now a lot of people have made or at least have heard of Beer Butted Chicken (also known as Beer Can Chicken) but this is the way I do it. I use a Weber 1 touch 22.5 inch charcoal grill but you can use whatever kind of grill you have. If you do not have access to a grill you can use an oven set to 350 degrees and cook the chicken in a baking pan.
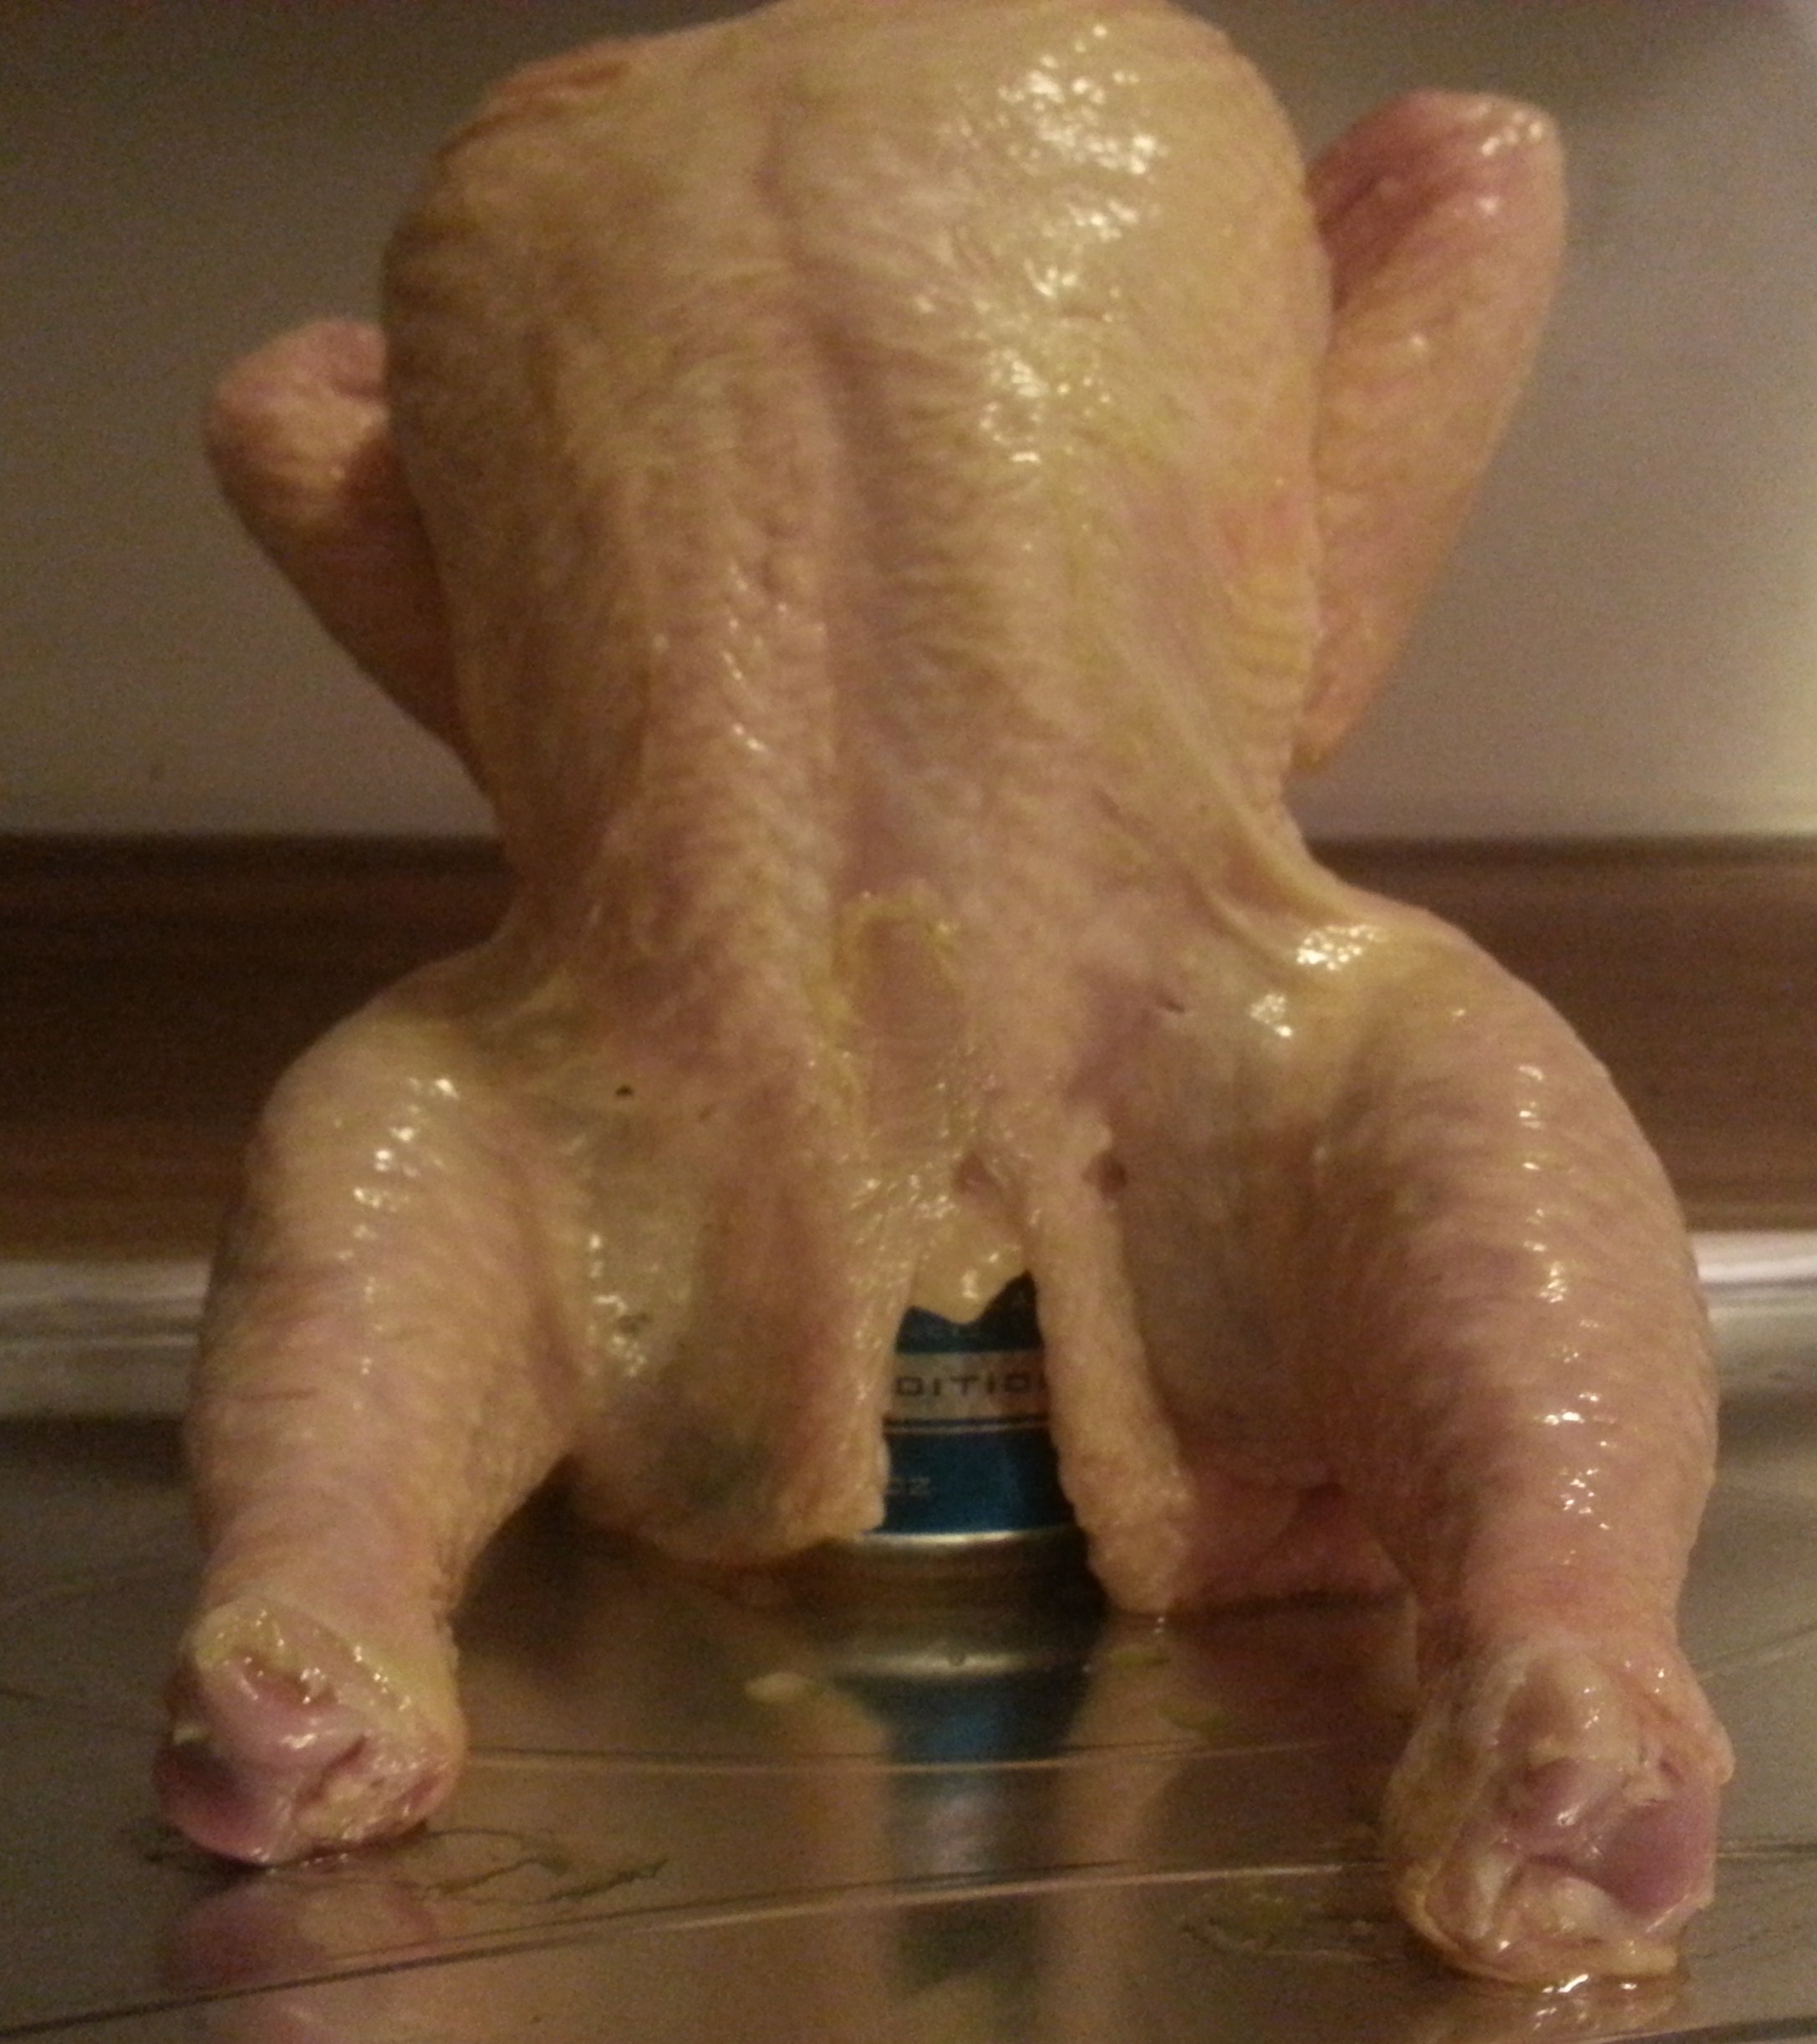
Before grilling. Beer Can Chicken
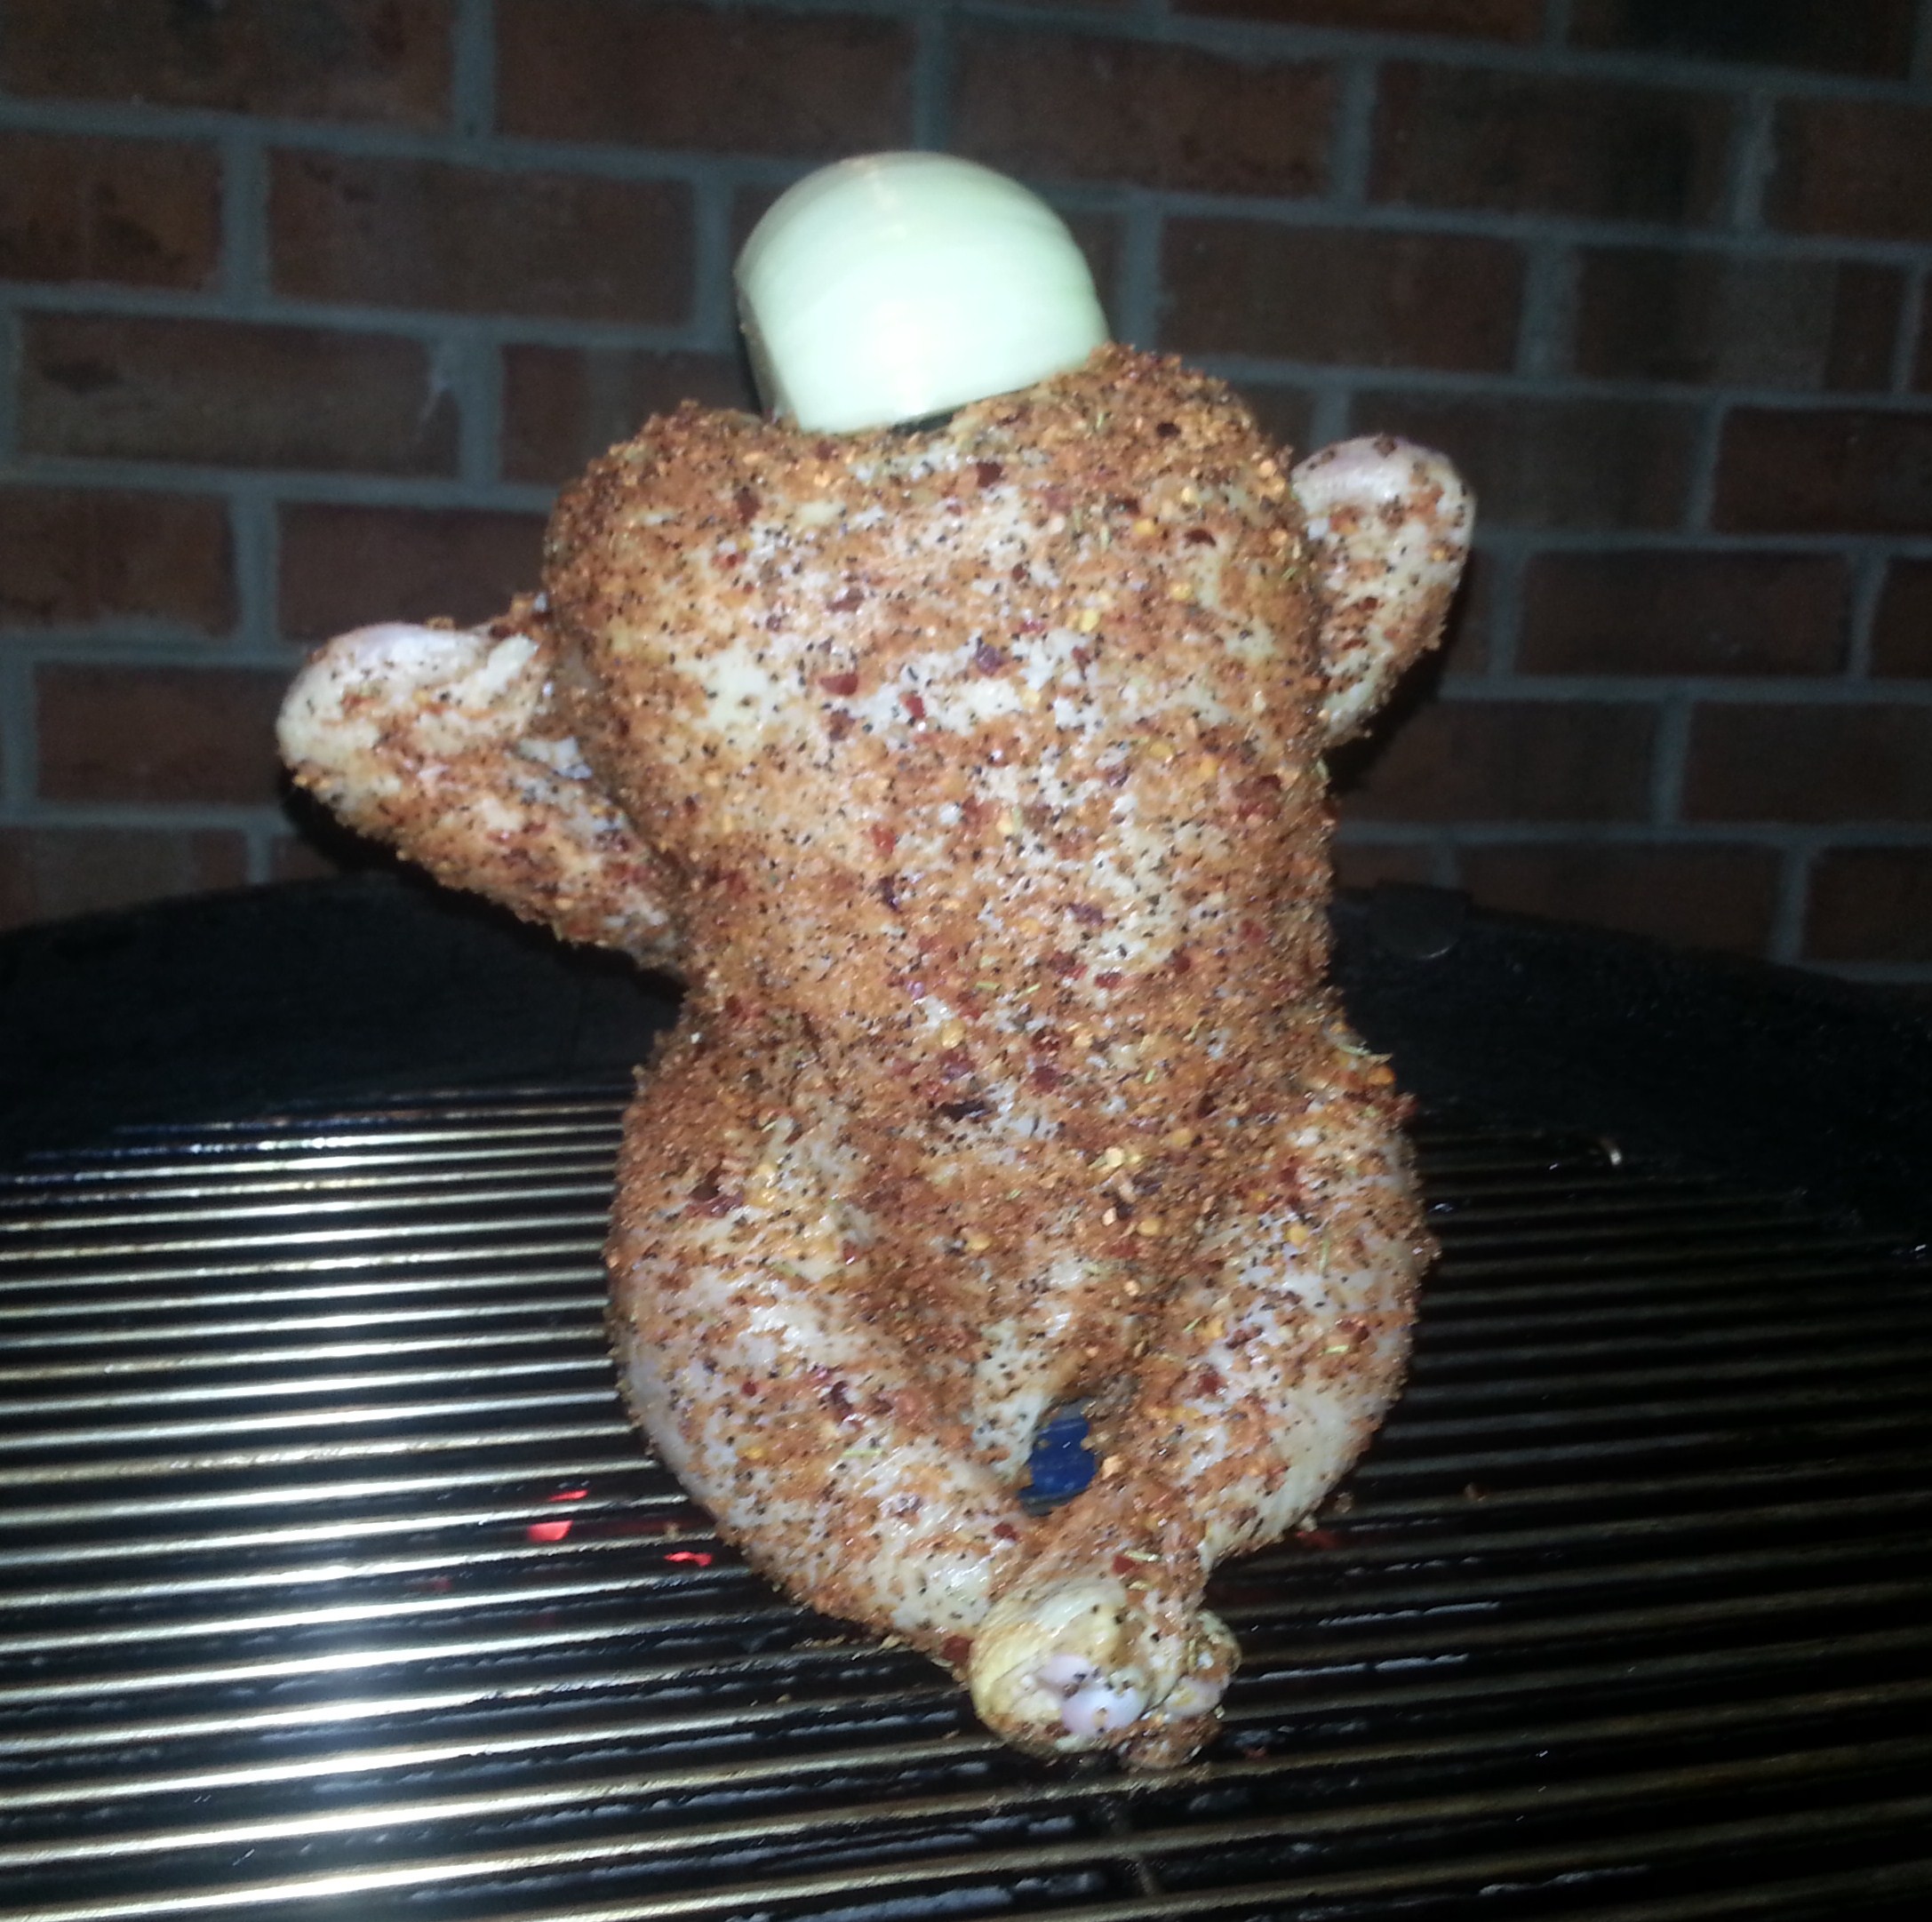
Beer Can Chicken on the grill with onion stuffed in the top.
One thing I highly recommend buying is a meat thermometer. When grilling or cooking meats in general it is good to know the exact temperature. No one wants an under cooked chicken. Something I use but it is not necessary is a chimney starter for heating up the charcoal. Using a chimney starter instead of lighter fluid gets the coals hotter and ready faster. Whether using fluid or a starter make sure the coals develop a nice white ash before placing any food on the grate. Putting food on the grill before the coals are hot enough can cause the charcoal to go out.
The level of spice is up to you. I have not perfected my own chicken rub as of yet so I used WEBER’S Kick’n Chicken (2.5 oz) and it does have some kick to it. If you like spice, then I recommend this rub to you.
Beer Butted Chicken is very easy to make and the chicken is very tender and packed with flavor. This is always a crowd pleaser and something I really enjoy making and I hope you do too.
Beer Can Chicken
Ingredients:
- 1 whole chicken
- 1 onion
- olive oil
- 1 12 oz can of beer
- Weber Kick’n Chicken Seasoning (2.5 oz) OR any other rub of your choice
Directions:
- Clean and rinse chicken inside and out. Pat dry. Cut onion in half, peel off layers if necessary so half of the onion fits inside the up through the neck leaving room for the can.
- Discard a 1/4 of the can of beer. (In whatever method you prefer, I don’t like to waste so I drink it)
- Set the chicken on top of the beer can. The chicken will be in an upright position. Once sitting up baste the chicken with olive oil. Then season your chicken with your rub of choice.
- Once your chicken in ready you can start working on your grill. I use an indirect heating method; meaning I put half of the coals on one side and the remaining half on the other leaving no coals directly in the center. I use a chimney starter to heat my coals instead of lighter fluid, if using this method crumble 2-3 sheets of newspaper into the bottom of the chimney starter, flip it upside right and pour 50-60 coals inside of the starter then light the newspaper. Once coals have formed grey ash on top (15-20 min) they are ready to be placed 1/2 on one side of the grill the other 1/2 directly across (as mentioned above).
- If you are not using the chimney starter method, begin by placing 1/2 of the coals on one side and the remaining 1/2 on the other. Spray with fluid and ignite. The coals will be hot and ready when you see grey ash. The temperature of the grill should be at 350 degrees. (15-20 min)
- Place grate on grill for 5 minutes. Once the grate has heated up place the chicken directly in the center of the grill so there are no coals directly underneath of the chicken. Place the 2nd onion half in the neck opening of the chicken (optional). Close the grill.
- After an 1-1/4 hours to 1-1/2 hours check the temperature of the chicken by placing a meat thermometer in the chicken thigh. Your chicken is ready to come off of the grill when it hits 175 degrees.
- Let chicken sit for at least 30 minutes before cutting.
Tagged: BBQ, beer, dinner, grill, Whole Chicken


